
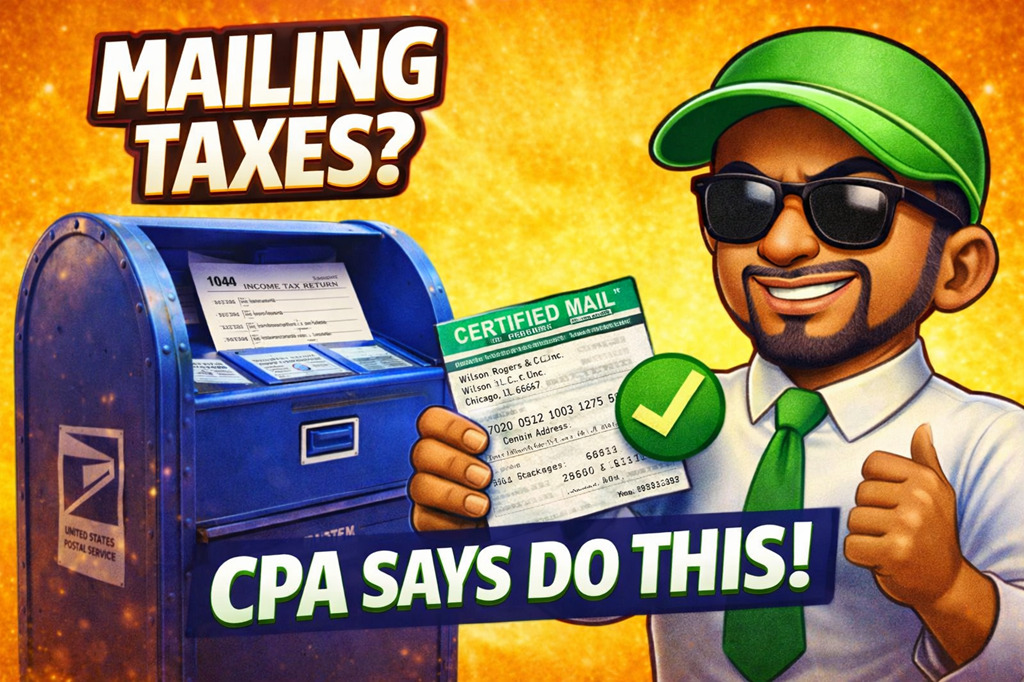
Think you’re ready to mail your tax return? Before you seal that envelope, there are a few important steps you don’t want to overlook. From putting your forms in the correct order to using the right mailing address and certified mail, proper preparation can help prevent unnecessary issues. This guide will show you exactly how to assemble, document, and mail your paper tax return with confidence.
Assembling the Return
When sending in a tax return you have to make sure it is assembled properly. You want all the forms to be in the correct order. When assembling the returns, you want the form 1040 to always be the first page. This is the base of the tax return. After the 1040 form the schedules come in to play if they are applicable. When printing out and assembling the return you will notice sequence numbers that go in order on the top right of each form under the filing tax year. Use the attachment sequence numbers as your guide, following them in numerical order, starting with the lowest number. After getting all the forms in order you can staple them together. If you have a W-2 there is a section on the first page of the 1040 where you can attach the W-2 by stapling it. Make sure you only staple the W-2 to the first page only and not the whole return. The final step should be making sure there are no errors and you have signed your return. If there are no signatures, the IRS will not accept it.
Where to Mail Tax returns?
The IRS has numerous addresses across the US for mailing in paper returns. The locations depend on the state you reside in as well as if there is an enclosed payment attached to the return that is being sent in. Here you can find Where to file your paper tax returns with or without payments. Another thing to note is federal and state locations are different. Do not send your state returns and federal returns together.
Assembling the Envelope
When you retrieve the address from the section above it is now time to assemble the envelope. I’m sure at some time you have sent mail out so this should be quite simple. You want to put a return address up on the top left corner of the envelope. Typically, the return address is your own personal address or it might be your PO box if you have one. You then put the address of either the state or federal IRS address (depending on the type of return you are filing) in the center of the envelope. Then you put a stamp on the top right corner.
Bulletproof Mailing
When mailing the return make sure you use certified mail receipts. This helps show proof of mailing and you can track the delivery of your return. On the certified receipt you include the address of where you are mailing the return to. An extra tip is to include the name, the year, and the phone number on the side of the certified mail receipt to prove what is being mailed. You then attach the receipt to the envelope with the sticky part on the back of the receipt. Make sure you physically hand in the mailing that way the USPS office can stamp and copy the receipt.
Extra Bonus Step
Include a letter within the envelope that has the return address, the date it was mailed, where it was mailed to, and the information that is within the envelope. You can include any personal info on here since this will be enclosed inside the envelope with your tax return. After providing all the information, you want to make a clear note that you want this specific letter stamped that it has been received and that you want it sent back to the returning address. You also include the tracking number from the certified receipt you filled out earlier. This gives you extra cushion in case the IRS deems that you have not mailed anything to them or that they did not receive it. You have physical proof that you in fact did mail the return and you have evidence from the IRS themselves that you have mailed the return.
To learn these steps in detail as well as see a visual representation of how to send your taxes by mail please check out the video below: https://youtu.be/FhGQ17PYNLQ?si=reqbCZo3GvCNoJLh